Menu
How to Create a QR Code Digital Menu for Free
October 11, 2025

In today’s world restaurant, bars and café are turning to QR Code Digital Menus to modernize their service. These menus allow customers to view your dishes directly from their phones, contactless, eco-friendly, and easy to update at any time.
If you’re curious about what a digital menu really is and why so many venues are making the switch, check out our detailed guide on what is a Digital Menu.
If you’re wondering how to create your own QR menu quickly, you’re in the right place. In this tutorial, we’ll show you step by step how to build a digital menu in just a few minutes using Mellly, even if you have no technical experience.
Why Use a QR Code Digital Menu
Switching to a digital QR menu offers many advantages for your restaurant, bars or café:
Save Money and Go Green: Forget reprinting menus every time you change a price or dish. A digital menu updates instantly and saves paper.
Contactless and Hygienic: Customers can scan your QR code without touching physical menus, perfect for safety and convenience.
Instant Updates Anytime: Need to remove an item that sold out? Update it instantly in your dashboard, no delays, no printing costs.
Improve the Customer Experience: Modern diners expect easy mobile access. A clear, mobile-friendly QR menu enhances your brand image and customer satisfaction.
Want to see a detailed comparison between QR code menus and traditional printed menus? Read our comprehensive guide on QR Code vs Traditional Menu
Step-by-Step: How to Create a QR Code Menu
Creating your digital menu with Mellly takes only a few minutes. Here’s how:
1. Sign Up or Log In to Mellly
Go to app.mellly.com and create a free account. You’ll be guided through a quick onboarding process.
💡 You can start free, no credit card needed.
2. Choose Your Link
After you’ve signed up, you’ll need to choose the unique link (URL) for your digital menu. This is the web address your customers will visit when they scan your QR code.
Pick a simple, memorable link: Your restaurant or café name is a good choice if availble.
This link will be printed on your QR code: Make sure it’s easy to read and type if needed.
You can edit your link later(only once every 30 days): Be aware that if you update your link after printing QR codes or sharing it online, any previously published QR codes and links tied to the old address will no longer work.
3. Add Your Information and Contacts
Enter your restaurant’s essential details such as name, bio, address, contact information, and opening hours. These details will help customers know when and how to reach you.
4. Populate with Sections and Items
Now it’s time to build your actual menu:
Create sections such as “Starters,” “Main Courses,” “Drinks,” and “Desserts.”
Add your menu items with images, names, prices, and short descriptions.
Easily show or hide entire sections or individual menu items with toggle switches, allowing you to update your offerings on the fly without deleting anything.

5. Customize Appearance (Style and Currency)
Personalize your digital menu’s look and feel for maximum impact. Select a stylish font and a cohesive color scheme that reflects your restaurant’s unique brand identity. Adjust the layout.
You can also set your currency, ensuring your prices are clear and relevant to your customers. Take time to preview your choices, a polished design creates a more memorable, professional impression.
🎨 Tips for Choosing Colors:
With Mellly, you can simply pick one main color and let the platform automatically generate a beautiful, coordinated color palette for your menu, plus, you can choose between a light or dark theme for the overall look.
If you want even more control, Mellly offers an advanced color settings, allowing you to fine-tune your palette for a fully custom vibe. Need inspiration? Explore Coolors for handpicked color combinations. Choose colors that reflect your brand and create an inviting experience for your guests.
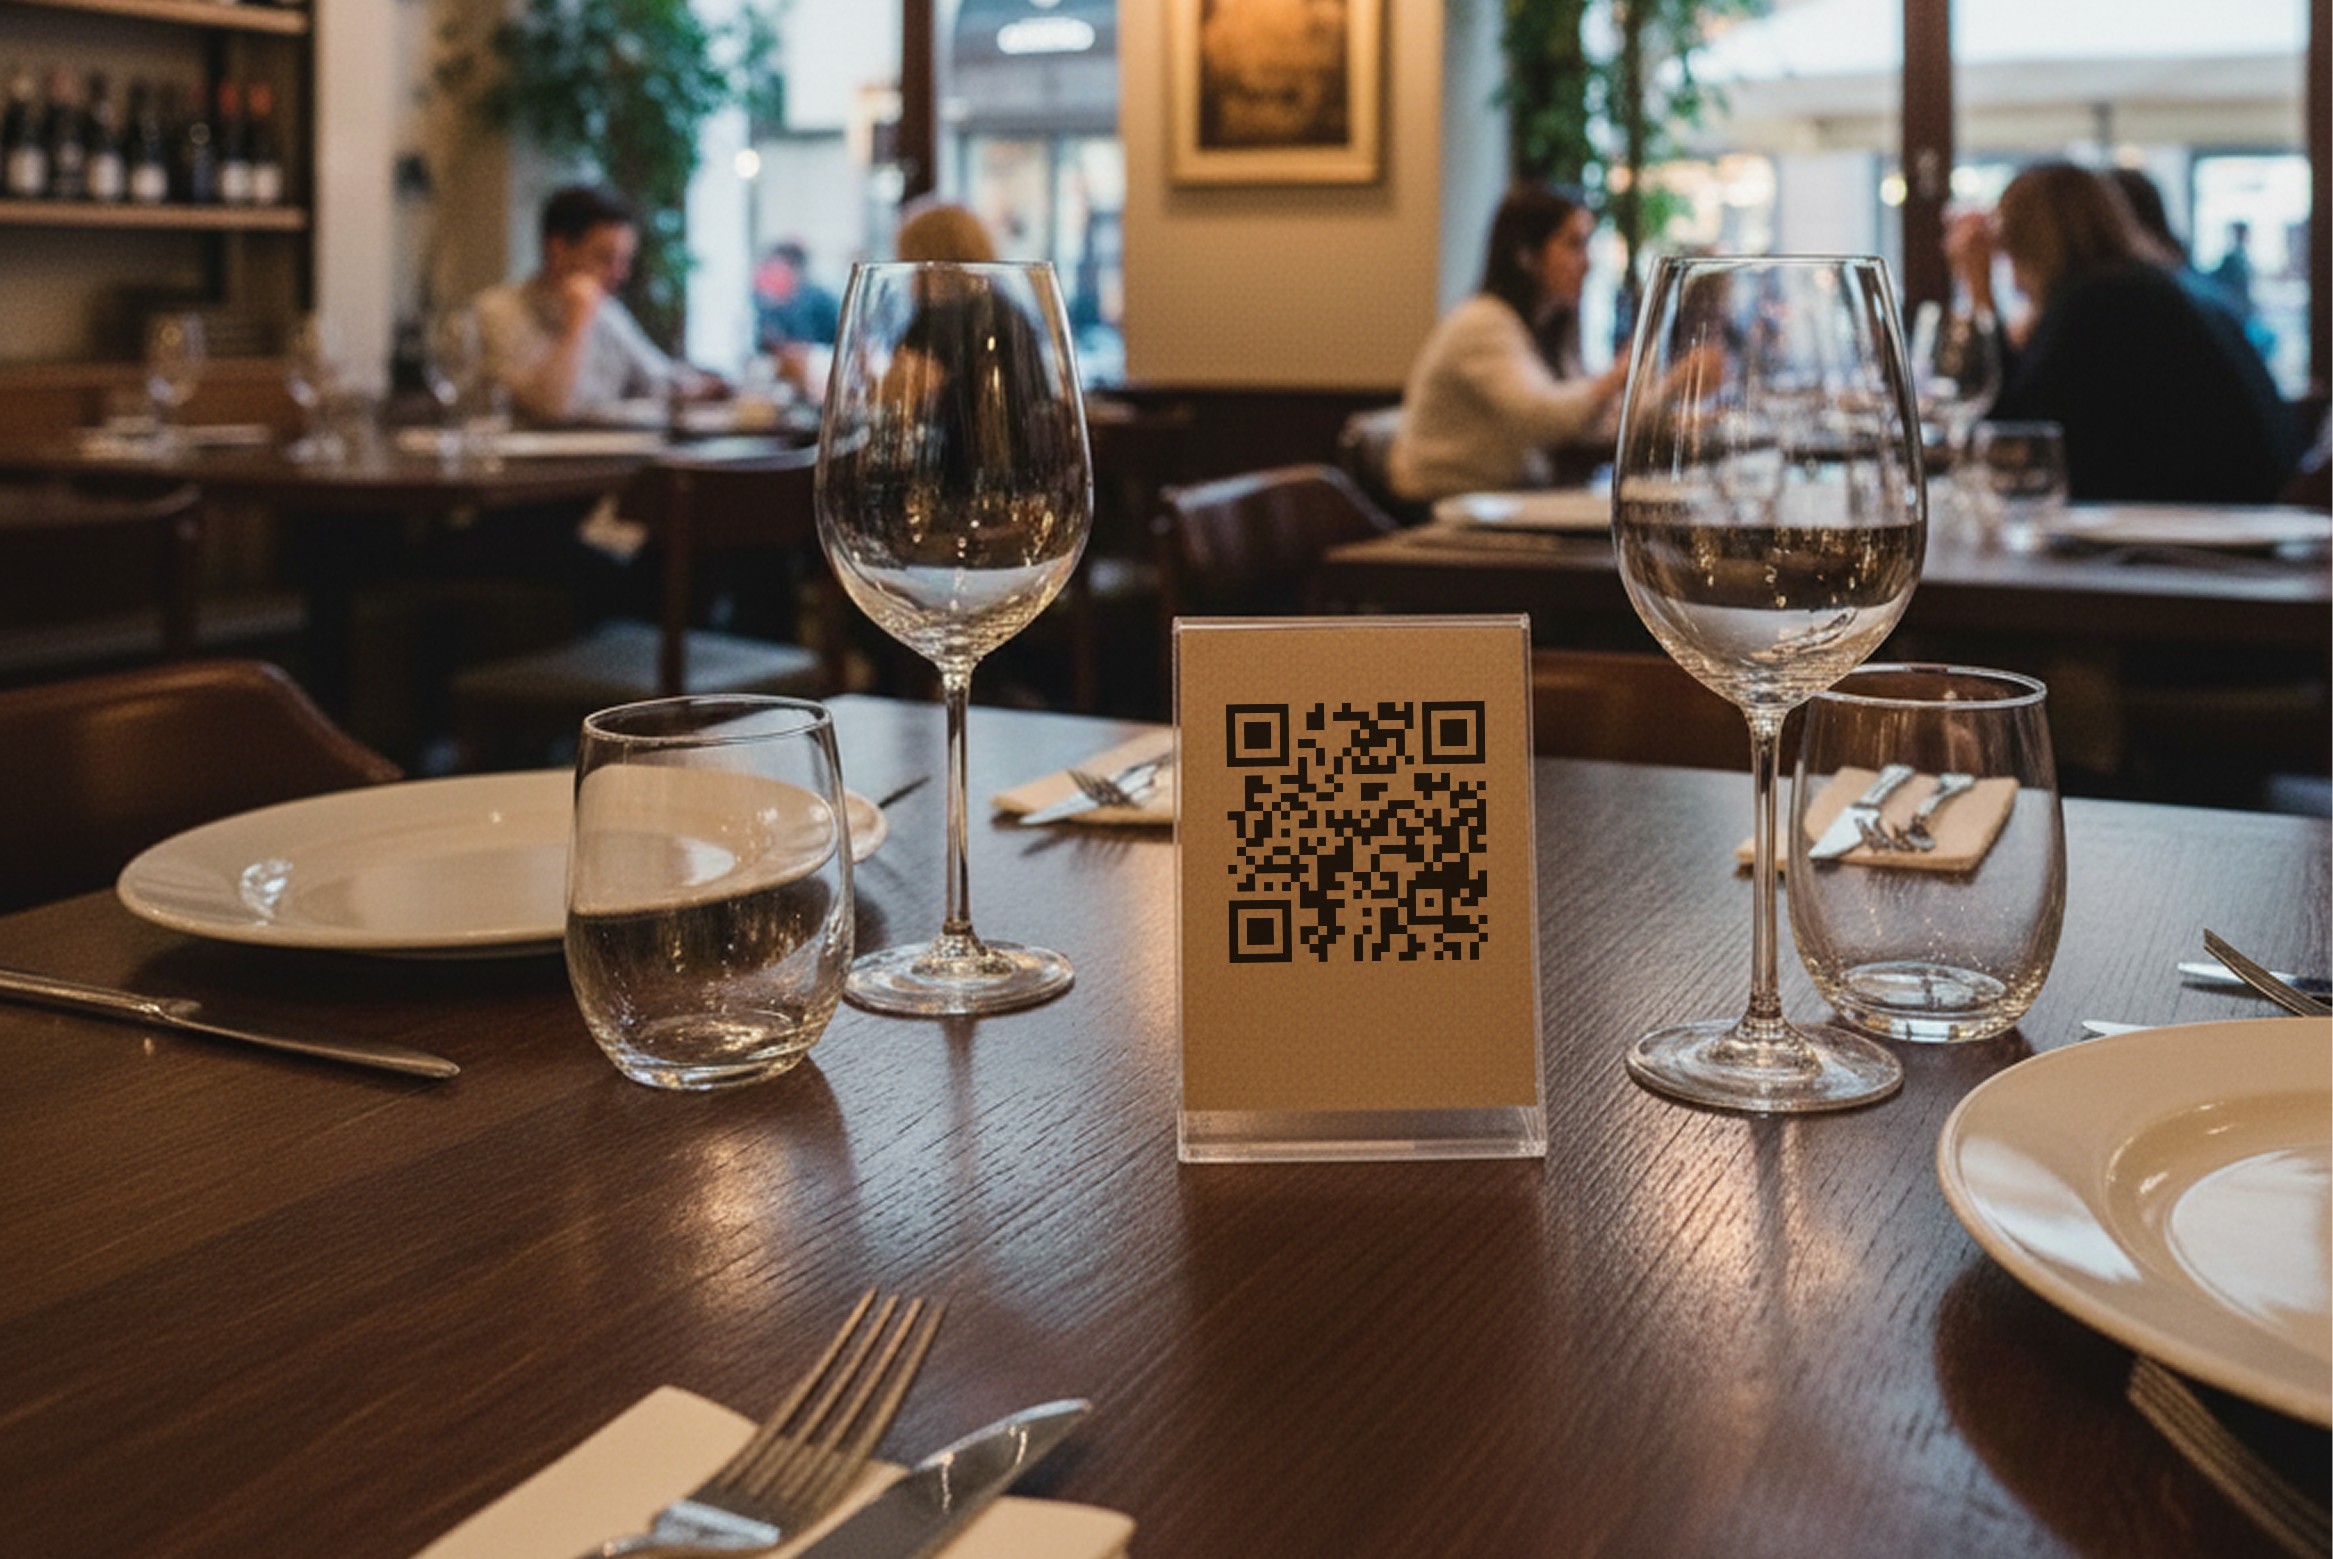
6. Print or Display Your QR Code
Once your Menu is ready, share it anywhere:
Print it on table tents or menus.
Add it to posters, flyers, or stickers.
Display it on your website and social media.
Tips to Make Your QR Menu More Attractive
Make your digital menu look professional and appealing:
Use High-Quality Food Photos: Images sell! Customers are more likely to order when they can see what they’re getting. To boost customer satisfaction and trust, always use authentic photos of your actual dishes, avoid generic stock images or AI-generated pictures. If you don't have real photos, it's better to use no image at all than to display a misleading or non-authentic one.
Organize Items Clearly: Divide dishes by category for easy navigation.
Keep Descriptions Short but Tempting: Highlight key ingredients or special features.
Add Promotions or Daily Specials: Keep your menu dynamic and engaging.
Highlight Allergens Clearly: List common allergens (like nuts, dairy, gluten) for each dish or in the footer, so customers with dietary restrictions can order with confidence. In some regions, clearly listing allergens on food and drink menus is required by law.
Common Mistakes to Avoid
Avoid these common pitfalls when creating your digital QR menu:
Blurry or Low-Quality QR Codes: Always use high-resolution QR codes and print them on quality materials. Blurry or pixelated codes can be difficult to scan, frustrating customers and reducing usage.
Too Much Text: Keep it concise and readable.
Outdated Prices or Items: Keep your menu up to date to avoid confusion.
Promote Your QR Code Menu
Now that your QR menu is live, make sure people know about it!
Share It on Social Media: Add your QR code to your Instagram bio or Facebook page.
Add It to Your Google Business Profile: Let customers access your menu directly from Google Maps.
Use Printed Marketing Materials: Flyers, posters, or receipts with QR codes help promote your business.
Conclusion
Creating a QR Code Digital Menu has never been easier. With Mellly, you can design, publish, and update your menu in just minutes, no coding or design skills required.